Make your blog cards or text consistent with custom CSS inside of Webflow. The best part is that you don't have to publish and reload to view the changes. You can see it inside the Designer.
The code
Apply the code below to a hidden embed on the page. It is better to make it into a component, so you can reuse it wherever you like.
Once you place this code inside of an html embed, create a class in Webflow with the exact same name. Leave off the period.
Apply that class as the main class or combo class to any element you want to clamp down.
Transcript
Here is a cleaned up version of the transcript from the video.
Introduction
Casey here from CL Creative, bringing you insights into web design and Webflow. Today, our focus is on making our blog cards neat and appealing.
Perfecting Blog Cards
Working on my client, Wise Guys Dumpsters' website, I've been integrating SEO strategies and content creation. But the aesthetics matter, and the blog cards need to have an organized, tidy appearance. A technique I'm employing is line clamping. By introducing this method, the titles are restricted to two lines and the descriptions to three, resulting in an orderly grid layout. This method employs ellipses (dot dot dot) to indicate truncation.
The same diligence I apply to my client's website is missing on my personal one. As the saying goes, web designers are akin to mechanics - everyone else's vehicle runs perfectly while ours lag. It's high time I address my own site's aesthetics, ensuring the blog cards reflect the standard I set for my clients.
Implementing Line Clamping through CSS inside of Webflow
We could manually integrate some custom CSS to achieve this effect. However, a limitation in Webflow is that viewing changes after adding custom code often requires site publishing. This can be cumbersome. My goal is to allow you to visualize changes directly within the designer tool without having to publish every time.
Setting Up the Components
Firstly, ensure a component is present on your page. Within this component, embed the necessary code. To demonstrate, I've integrated various styles within my HTML, adopting Client First's naming system by Fin Suit. Essentially, these are global styles available across pages.
If you're not using Client First, ensure you have an embed in place for the page you're working on and that it's hidden.
Inserting the Custom Code
Next, I'll introduce the line clamping code. Let me guide you on this:
- Within the global styles (or wherever you've placed your embed), introduce the HTML embed code editor.
- Paste the required code within the editor. This code facilitates the clamping, ensuring the text truncates after a specified number of lines.
- Once embedded, we can now apply these styles directly to our content.
Results and Adjustments
With our code in place, we can apply the custom styles directly to the blog cards. For instance, by implementing the 'four lines' style, a five-line text block will truncate to four lines with the ellipses indicating truncation. But, flexibility is key. If four lines seem too lengthy, simply switch to the 'three lines' style to further truncate the text. Similarly, headers that don't need three lines can be adjusted to just two. The beauty lies in the immediate visualization of these changes without constant publishing.
Conclusion
This process streamlines the aesthetics of your blog cards, keeping them crisp and concise. It also optimizes your workflow within Webflow, allowing immediate visual feedback. If this tutorial was beneficial, please like this video. Subscribe for weekly content on Webflow, web design, and stay tuned for upcoming SEO videos. See you in the next tutorial!

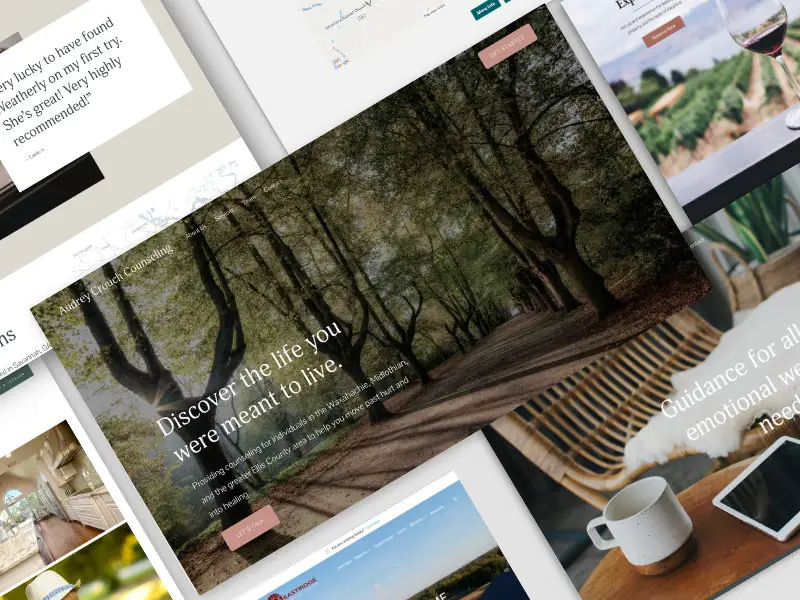
End to End Webflow Design and Development Services
From Web Design and SEO Optimization to Photography and Brand Strategy, we offer a range of services to cover all your digital marketing needs.

Webflow Web Design
We design custom Webflow websites that are unique, SEO optimized, and designed to convert.
Webflow Support
Get dedicated design and development support from a Webflow Professional Partner without the overhead of a full-time hire or the hassle of one-off project quotes.


Claim Your Design Spot Today
We dedicate our full attention and expertise to a select few projects each month, ensuring personalized service and results.