👋 Hey everyone! In today’s video, I walk you through a straightforward, simple process to export your images from Figma, ready for seamless development in Webflow.
If you're looking to save time and maintain image quality without compromising your website’s load time, then this tutorial is for you!
🌟💡 What You’ll Learn:
- 3 easy steps to export images from Figma to Webflow
- Time-saving tips to prepare your images for development quickly
- How to maintain high-quality images without sacrificing load time
👁️ Video Highlights:
Step-By-Step Guidance:
A detailed walkthrough of each step ensuring an easy and smooth process from Figma to Webflow.
Quality Maintenance Tips:
Learn how to retain the integrity and quality of your images without compromising the performance of your site.
Optimization Techniques:
Discover the best practices to optimize your images for the web, balancing quality and website load time effectively.
Transcript
If you would rather read instead of watch the video, here is a clean version of the transcript.
Introduction
Hey, it's Casey here with CL Creative, where I teach you web design and Webflow one video at a time. Today, we're discussing the best way to export your images from Figma and integrate them into your Webflow project for the best image quality and fast load times. A recent oversight in my usual export procedures cost me a lot of time. Let's save you from making the same mistake.
Starting the Process
Jumping into my computer, this project showcases my typical workflow. Here are three steps I follow when exporting images from Figma:
- Image Duplication:
- Duplicate the images, especially those you've placed to the side.
- Whether it's a background image or a header image, I duplicate them all.
- The main reason for this is to retain control over image overlays and styles, like drop shadows or rounded corners, which I prefer to adjust during the development phase, not during design.
- Naming & Exporting:
- Before exporting, remove any styles applied to the images.
- Ensure each image is named appropriately, reflecting its location and purpose within the website.
- Export headers, especially those with overlays, as PNG at 1.5X. For other images on the body, export them as PNG at 2X.
- This approach gives flexibility and ensures great image quality at a low file size.
- Organizing Exports:
- Once exported, I organize my images by page name, ensuring each image is clearly identifiable.
Optimizing with Squish
Using the Squish app, I manually convert each image to the webp format. While Webflow does offer automatic conversion for non-CMS images, I prefer having more control over the quality and appearance of images, especially if they're a prominent feature of the website. With Squish:
- Convert the image to webp.
- Adjust image width (usually between 1,200 to 2,000 pixels).
- Adjust image quality to achieve a balance between file size and visual appeal, typically aiming for about 100 kilobytes.
Final Integration into Webflow
After optimizing all images with Squish, I upload them to the Webflow assets panel and incorporate them into the website design. One tip here is to always export at 2X, especially considering how images might stretch or shrink across different device sizes, and to ensure they look sharp on high-resolution screens.
A Lesson from Experience
On a recent project, I mistakenly exported some images at 1X, which led to noticeable degradation in quality on larger screens. This error forced me to re-export, re-optimize, and re-upload the images, costing valuable time. Hence, always ensure your images are of the highest quality to avoid redoing work and to meet client expectations.
Conclusion
By following this process, you can achieve an ideal balance between image quality and load time, ensuring a visually appealing website that also performs efficiently. I hope you found this video valuable. If so, don't forget to like and subscribe for more content on Webflow, web design, and SEO. Keep an eye out for upcoming videos on improving your website's search ranking.
See you next time!

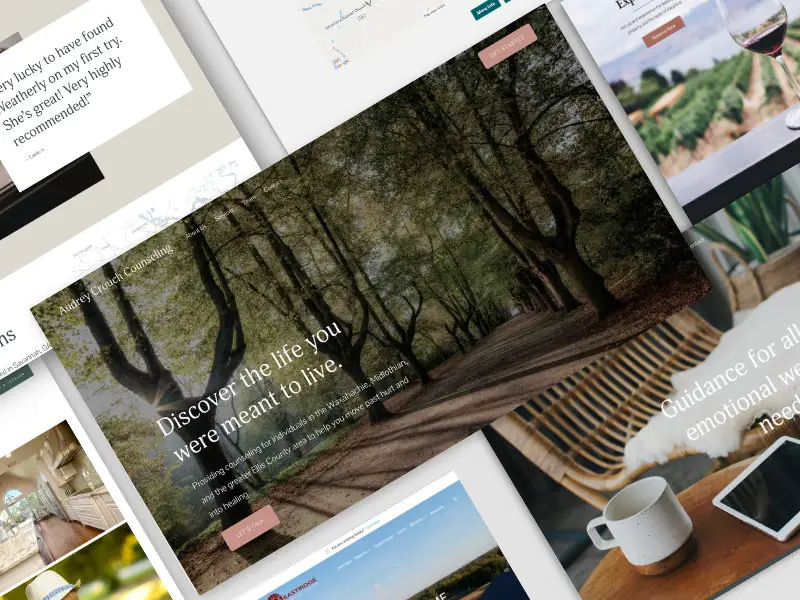
End to End Webflow Design and Development Services
From Web Design and SEO Optimization to Photography and Brand Strategy, we offer a range of services to cover all your digital marketing needs.

Webflow Web Design
We design custom Webflow websites that are unique, SEO optimized, and designed to convert.
Webflow Support
Get dedicated design and development support from a Webflow Professional Partner without the overhead of a full-time hire or the hassle of one-off project quotes.


Claim Your Design Spot Today
We dedicate our full attention and expertise to a select few projects each month, ensuring personalized service and results.